The Facebook pixel is a piece of code from Facebook that you can add to your website or online store and use to retarget, optimize, and track the effectiveness of your Facebook advertising campaigns.
Using the Facebook pixel can be a bit challenging, but we made it more than simple. You can install the Facebook pixel to your store without touching any code and start your ad campaigns right away.
- Before you begin
- Create Facebook Pixel
- Add Facebook Pixel ID to your store
- Check Facebook Pixel status
Before you begin
If you haven't already done so, go to Facebook and sign up for a Facebook account. You can also read the Facebook setup instructions and FAQ about the Facebook pixel.
Remove old Facebook pixel code from your store
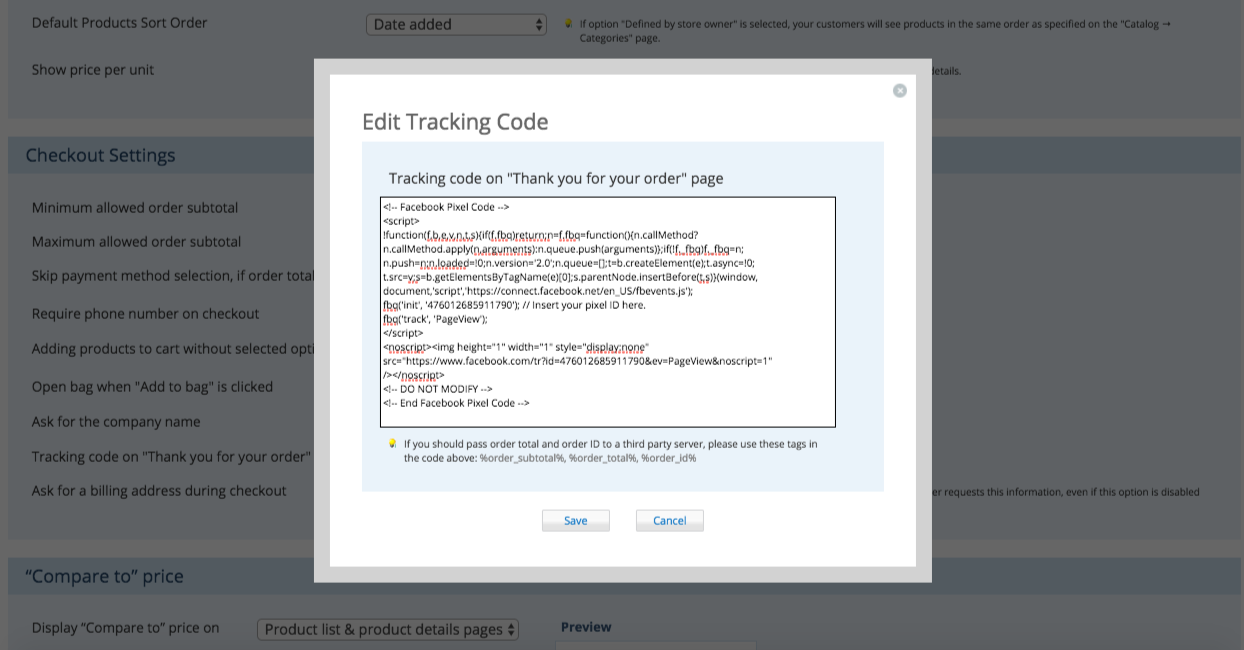
Adding a Facebook Pixel account ID to your store while you have the pixel code already embedded to the Thank you for your order page in the store could result in duplicated or partial data.
You need to make sure that Facebook Pixel isn't installed in your Control Panel under Settings → General → Cart & Checkout → Tracking code on "Thank you for your order" page.
Create Facebook Pixel
To create a Facebook pixel:
- Go to your Facebook Pixel tab in Ads Manager and click Create a Pixel.
- Enter a name for your pixel. You can have only one pixel per ad account, so choose a name that represents your business.
- Check the box to accept the terms.
- Click Create Pixel.
- On the next screen, click Copy and Paste the Code.
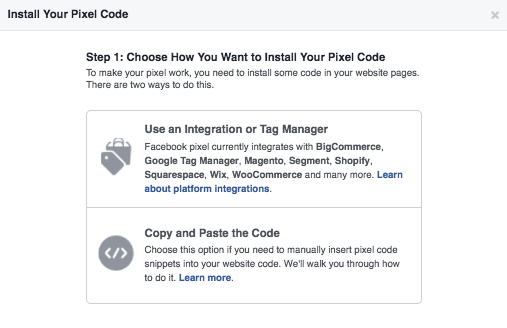
6. Copy the Pixel code, paste it into a .doc or .txt file, select your Pixel ID, and copy it.
Add Facebook Pixel ID to your store
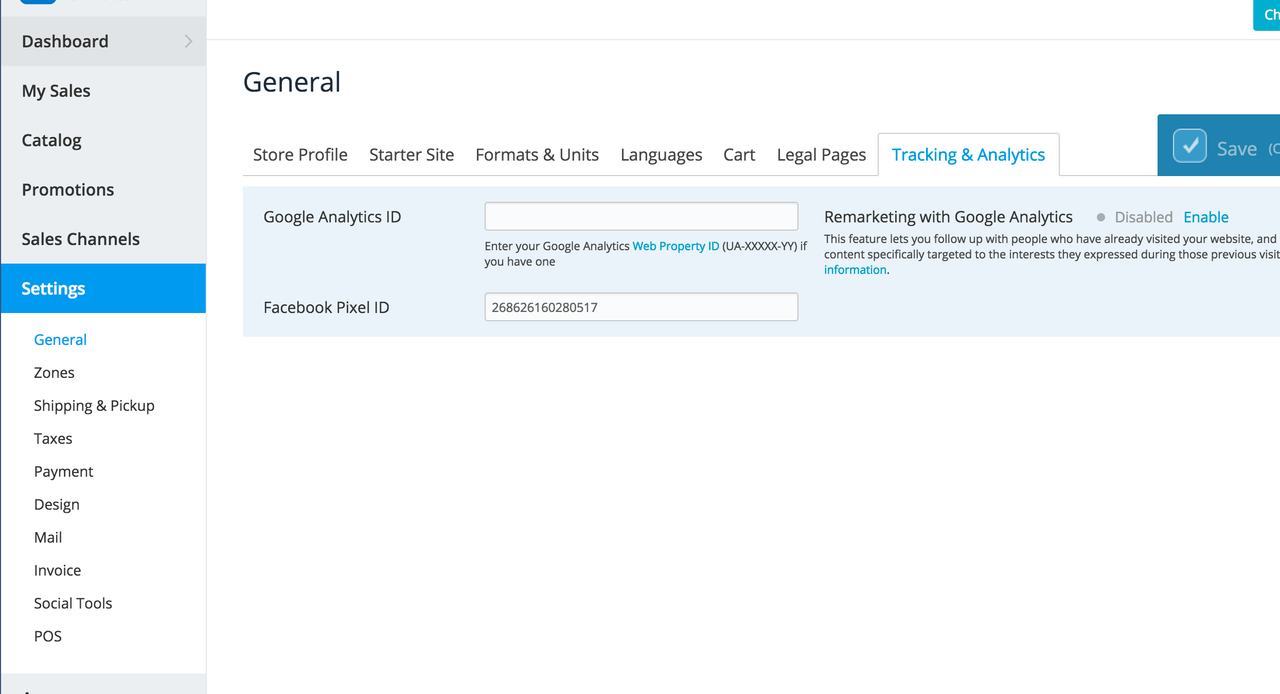
Now you can easily get your Facebook Pixel installed. Go to your Сontrol Panel → Settings → General → Tracking and Analytics and paste your Facebook Pixel ID there. Save the changes.
The installed Pixel will support the most of standard events automatically:
- ViewContent: a product or a category page is viewed
- Search: a product search query is made
- AddToCart: a product is added to the shopping cart (a click on Add to cart button)
- InitiateCheckout: a person enters the checkout flow (a click on Checkout button)
- AddPaymentInfo: a person is halfway through the checkout flow (payment information is saved)
- Purchase: an order is is completed (landing on Thank you for your order page)
Check Facebook Pixel status
Now you need to verify that your Facebook Pixel is working.
- Navigate to your store to get the Pixel triggered.
- Go back to Pixels tab in Facebook Ad Manager and check your Pixel’s status. The green light means it’s active.
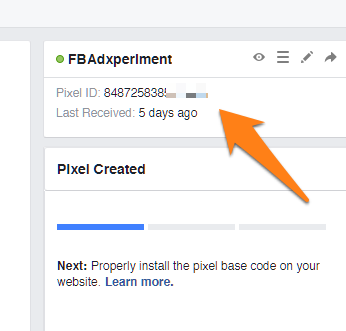 It might take up to twenty minutes to activate your Pixel.
All your Facebook Pixel activity will be displayed in your Ad Manager profile as a graph showing how many times the Pixel was triggered. Below you’ll see the tabs with the stats for the Pixel events.