With the online store you can install the Facebook pixel into your store without touching any code and start using the Facebook Ads to their highest potential.
Implementing Facebook pixel is available for all store users.
In this article:
Create Facebook pixel
The pixel is an invisible 1×1 pixel — a unique image file that is embedded on your website or online store. It is added via javascript code and automatically loads on all pages of the website or the store. With the help of the pixel you will be able to:
- track website or store visitors,
- optimize your ad campaigns,
- monitor their results.
To create the Facebook pixel for implementing into your online store:
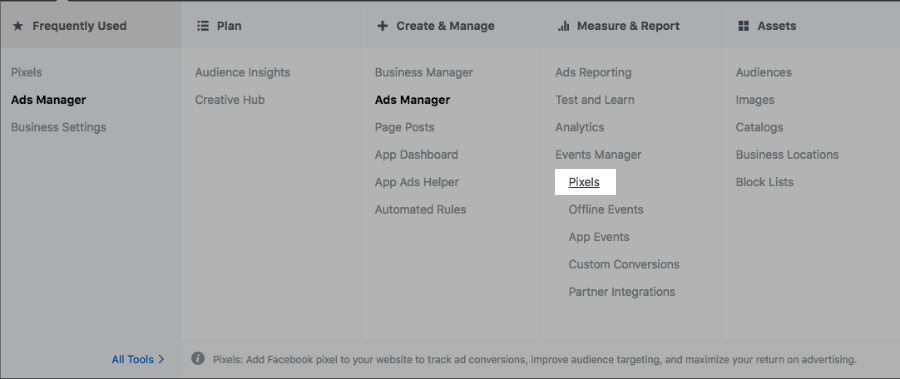
- Open your Facebook Ads Manager or Business Manager.
- Click on the Ads Manager Menu in the top left corner and hover over All tools to expand it fully.
- Click on Pixels:
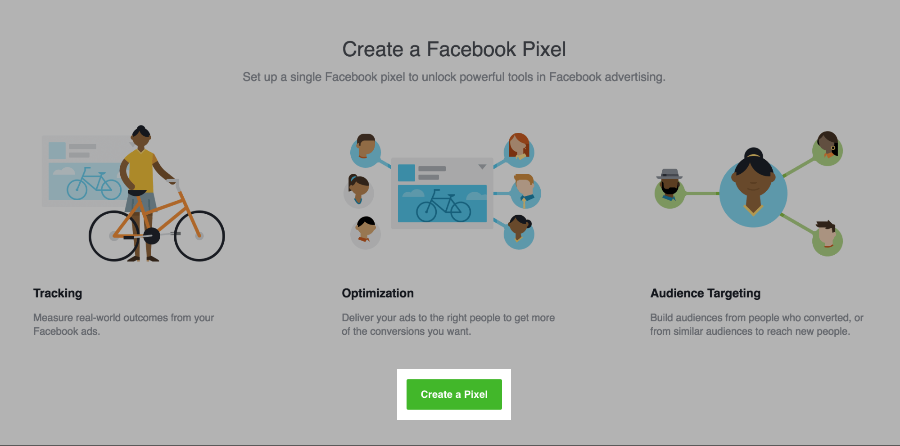
- Click on the green Create a Pixel button:
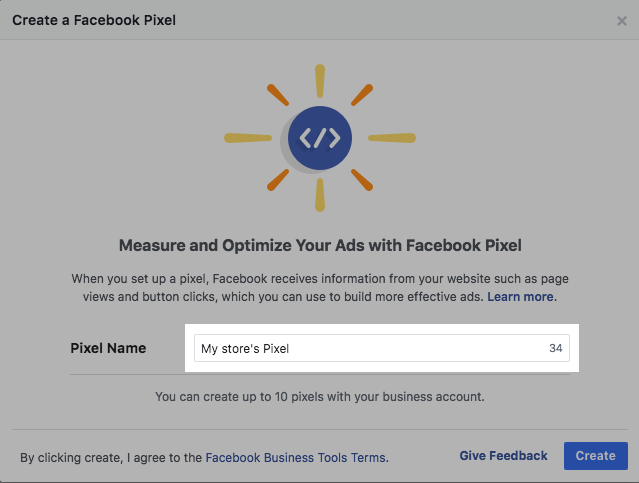
- Name your pixel and click Create:
Install Facebook pixel
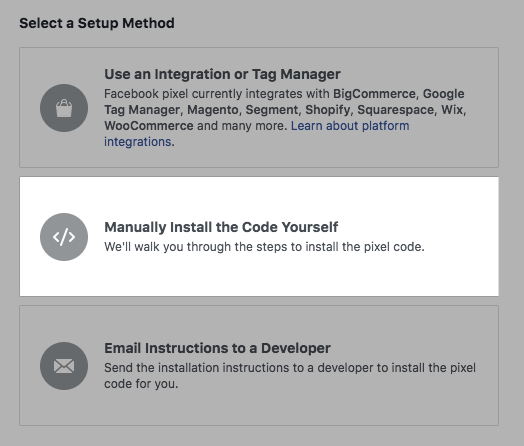
Once you have named and created your pixel, you will be given the options for installing it:
- Select Manually Install the Code Yourself:
- Copy the pixel code and paste it to a text editor. Locate the following line in the code:
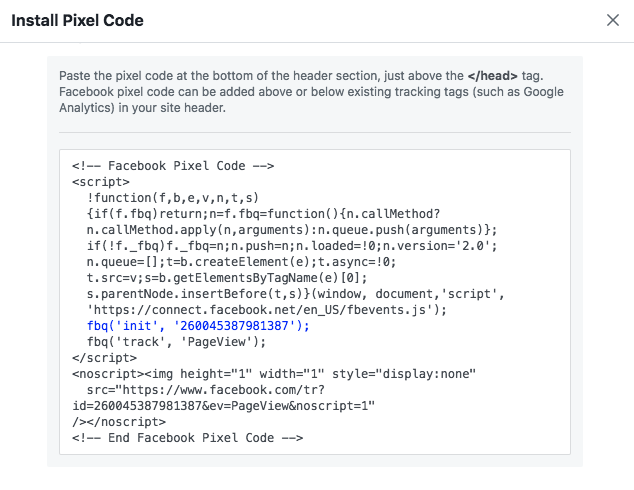
- Copy the numbers that represent your Facebook pixel ID. In our case it will be 260045387981387.
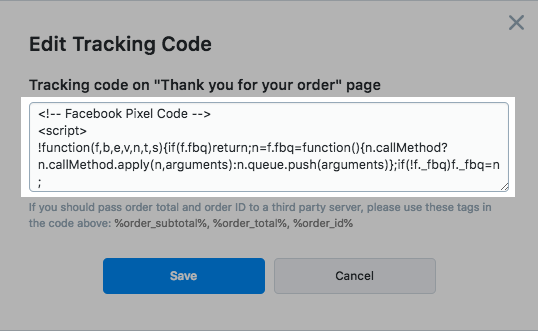
- Go to your store Control Panel → Settings → General → Tracking & Analytics.
- Paste your Facebook pixel ID to the text field and click Save:

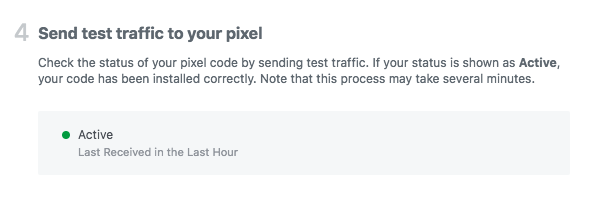
When you have implemented the Facebook pixel ID to your online store, visit your storefront to send some traffic to the pixel. In a few minutes after the pixel fires for the first time, it will be shown as active in your Facebook Events Manager.
Next steps
Now that you have implemented Facebook pixel, it is time to set up Facebook Ads!