A huge audience of 1.49 billion monthly active users, flexible, easy to use advertising options and affordable pricing make Facebook an important channel for small and medium-sized businesses to market and advertise their products and services.
Below we will explain how to launch your first Facebook Ad campaign.
In this article:
Step 1: Create a campaign
When you decide to run an ad, you'll always start with what you want it to achieve. The campaign level is where you set your main advertising objective.
While Facebook offers a great variety of ads for different business goals, in this article we will focus on setting up an ad campaign aimed at driving sales for your products or services.
To launch a new ad campaign for promoting your products:
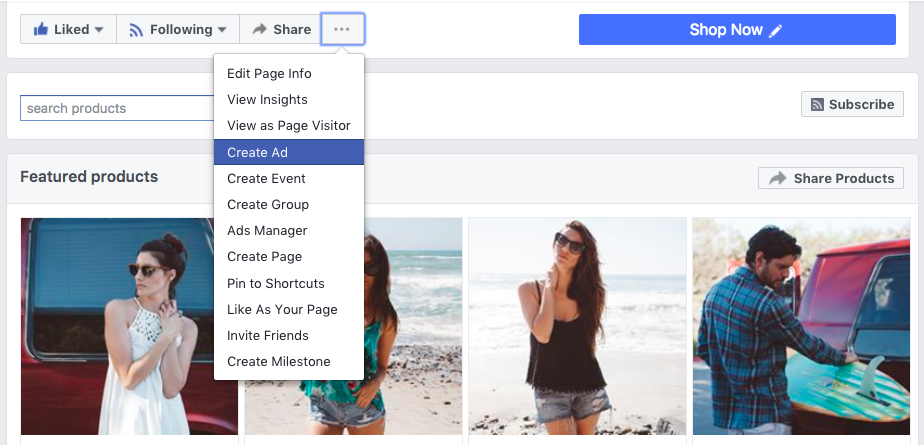
- Go to your Facebook business page and click Create ad:
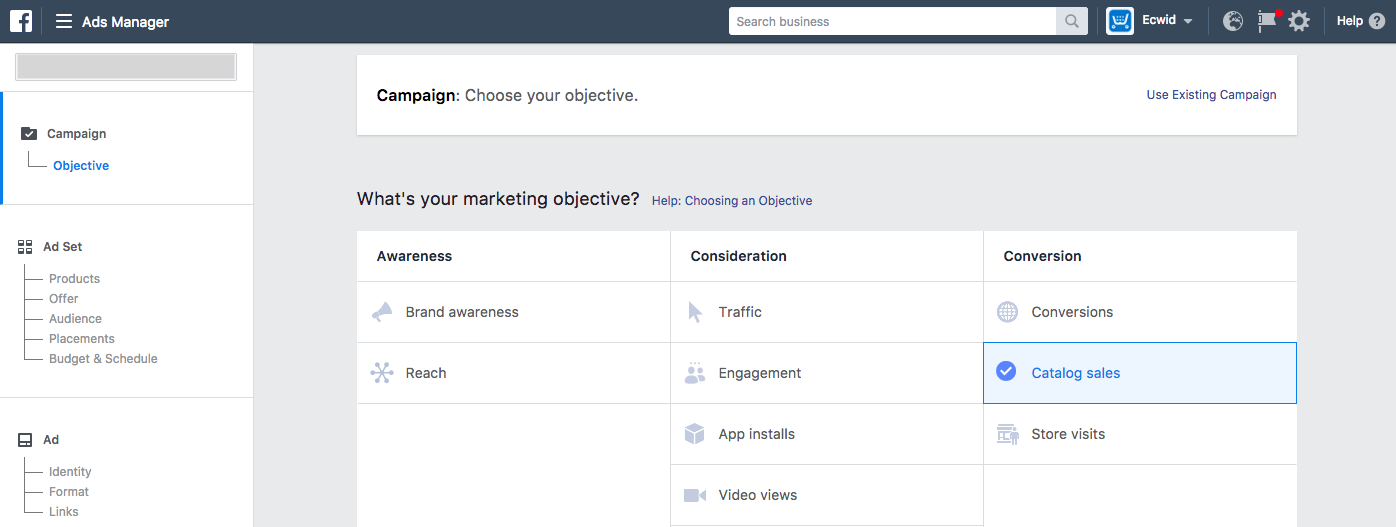
- Select Catalog sales as your campaign objective:
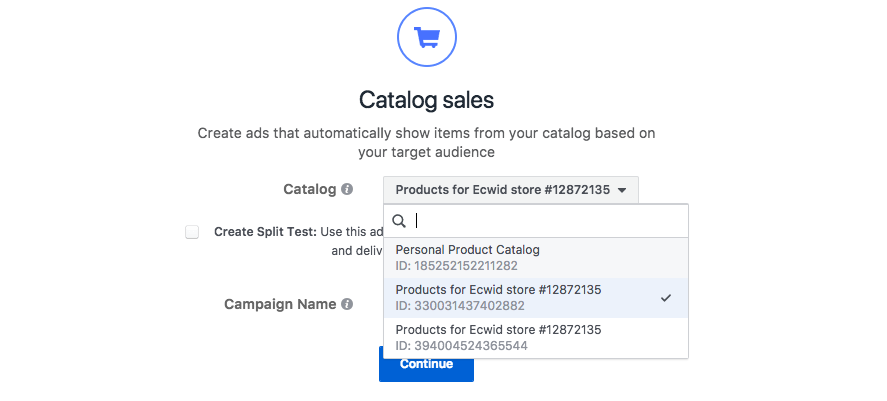
- Select the product catalog that you are going to promote and click Continue:
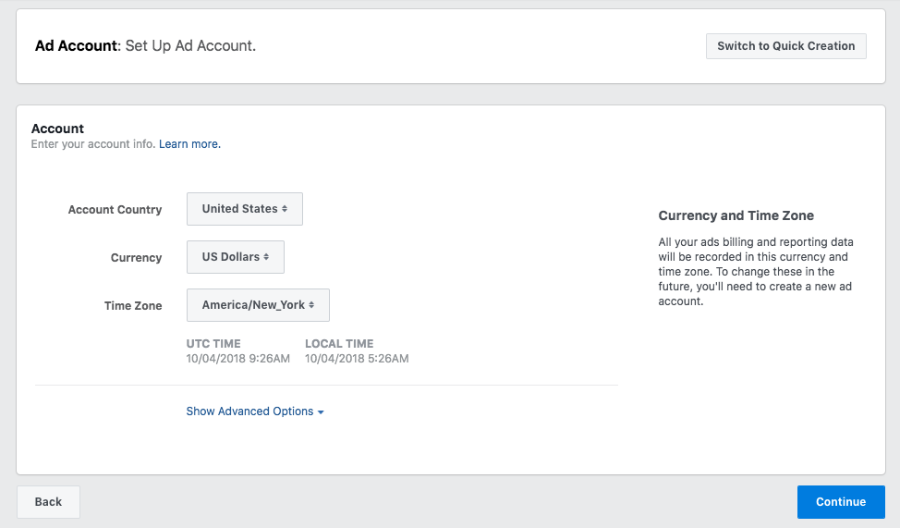
If you create a Facebook ad campaign for the first time, you will be asked to open an Ad account and specify your country, currency and time zone:
After choosing your campaign objective and selecting your product catalog, you proceed to creating your ad set where you build your target audience, schedule your ads and set your budget.
Step 2: Create an ad set
At the ad set level, you define how you want your ads to run and what people will see them.
With the help of Facebook’s targeting options, you can build an audience filtered by location, gender, age and more. You also create a budget and set a schedule for your ads and choose their placements.
One Facebook Ad campaign can include multiple ad sets, each with different targeting, scheduling and budgeting options selected.
To configure an ad set:
- Enter a name for your ad set:
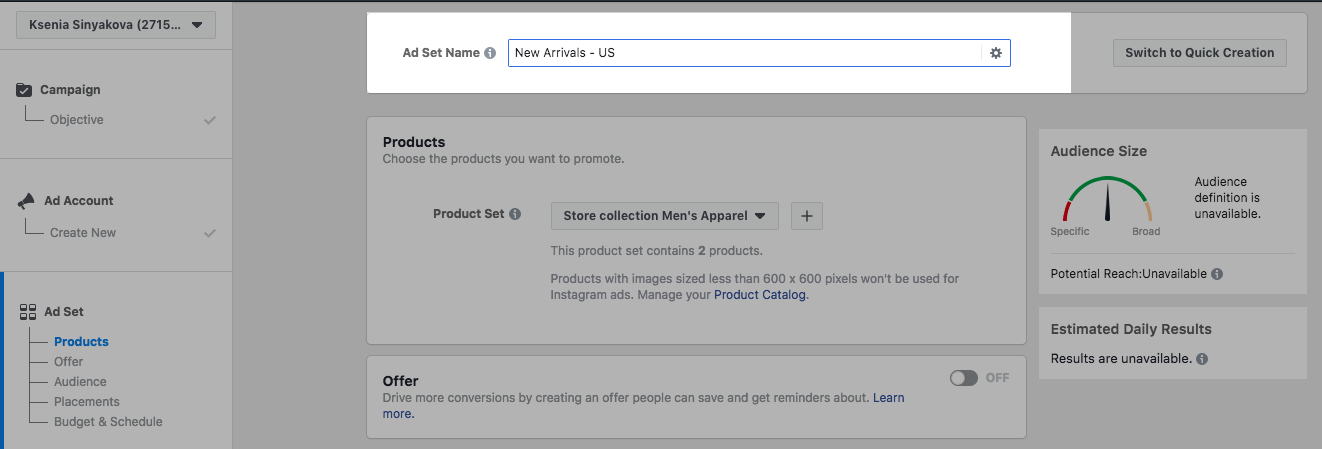
- Choose the products you want to promote from the Product Set drop-down list:
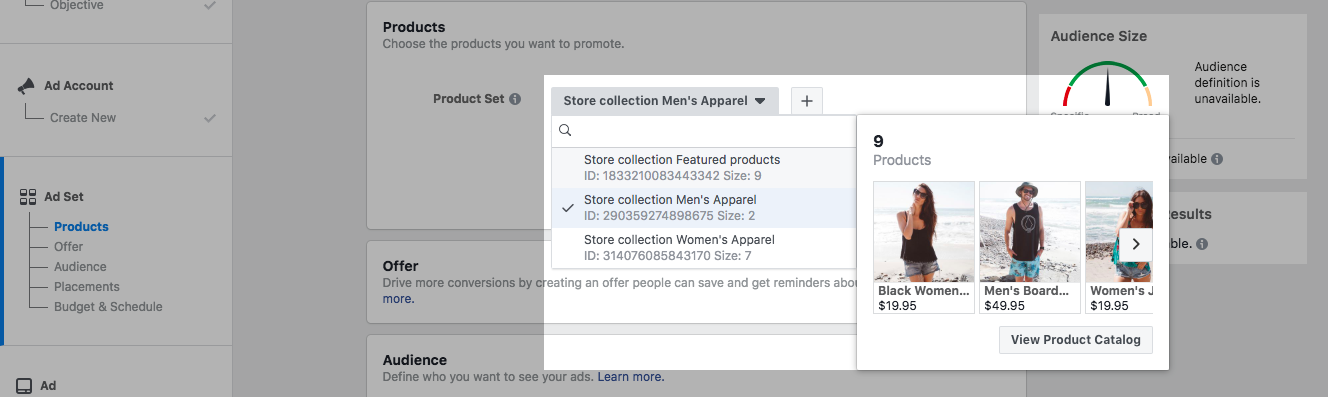 If your products are grouped into categories, Facebook will automatically create a product set (or collection) for each category.
- Enable the Offer option, if you want to create a discount that your customers can save and get reminders about.
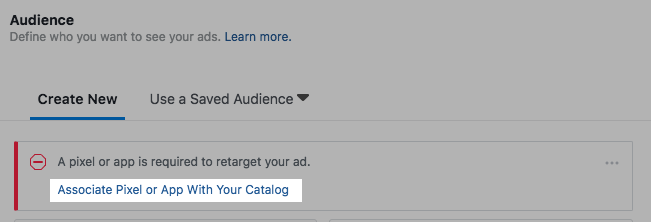
- Click Associate your Pixel with your Catalog if you haven’t connected them yet:
- Identify your target audience by selecting one of the following options:
- Use info from your pixel or app to create a retargeting audience, if you want to display your ads to the people who already visited your store, left products in cart or purchased similar items – a classic retargeting strategy;
- Define a broad audience and let Facebook optimize who sees your products, if you want to allow Facebook find people in different locations, of certain age or gender, with particular interests that are most likely to make a purchase in your store – a broad audience targeting strategy.
- Choose where you want to show your ads (ad placements) by selecting one of the following:
- Automatic Placements (recommended), if you want to let Facebook choose multiple placements based on where they’re likely to perform best;
- Edit Placements, if you want to choose your ad placements manually.
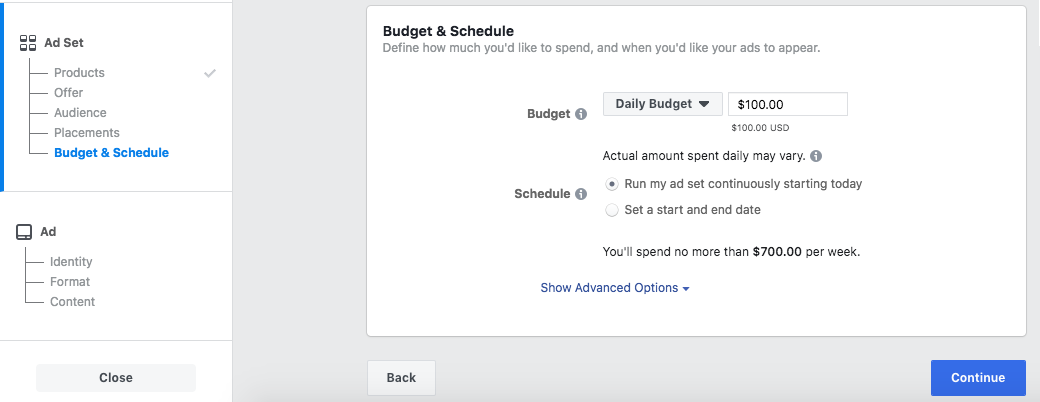
- Configure your budget and schedule and click Continue:
Now that you have set up your campaign’s objective, target audience, budget and schedule, you will proceed to designing your ads.
Step 3: Create an ad
At this level you will be working on the look and content of your ads:
- Enter a name for your ad that you will see in Facebook reports and notifications:
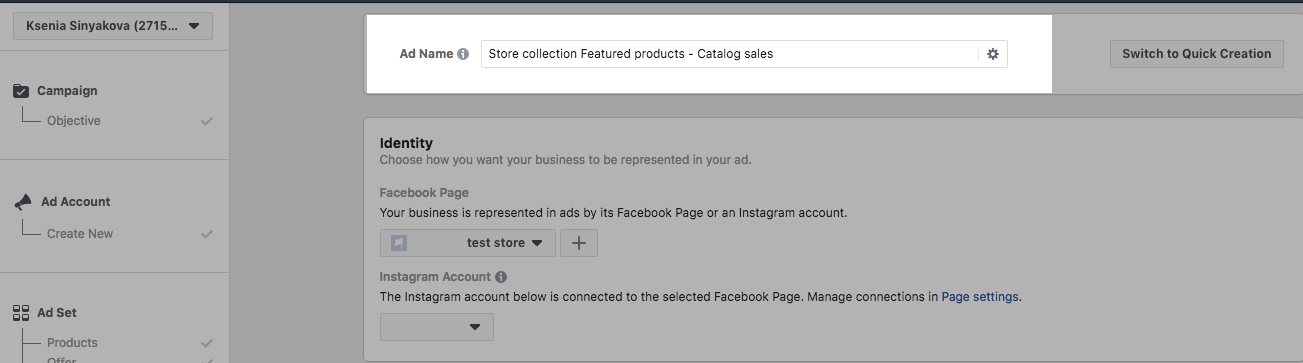
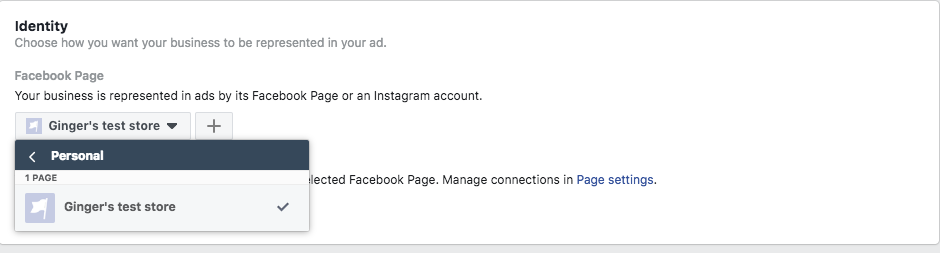
- Choose your Identity – a Facebook page or an Instagram account (if connected with your Facebook profile) that will represent your business in the ad:
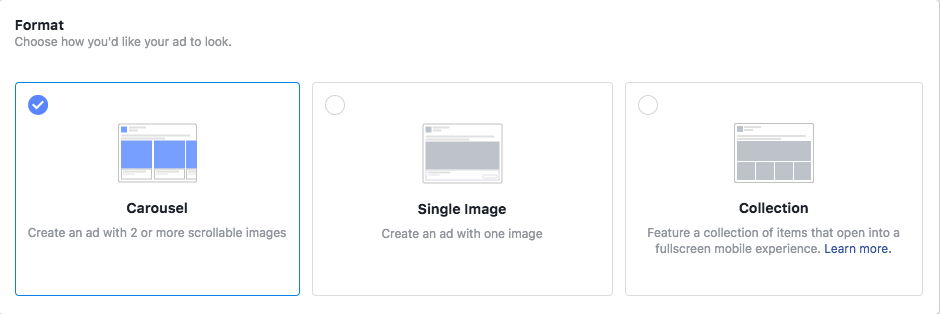
- Select how your ad will look in the Format block:
- Choose if you want to display individual items or their categories:
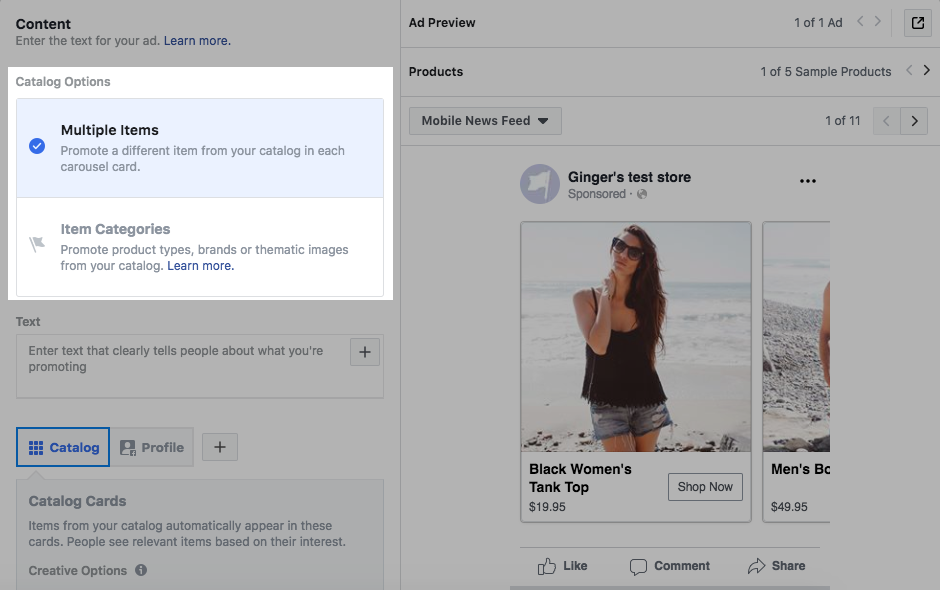 By choosing to display item categories, you can show people different types of items you sell in a single ad unit. This is useful if you want to reach people who are getting to know what you sell.
- Enter a brief text that clearly explains what you are promoting:
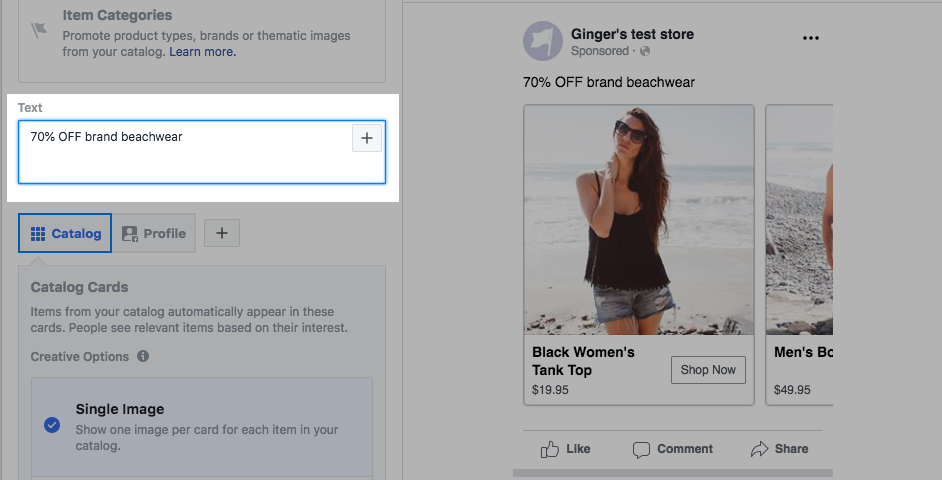
- Design the look of your catalog cards:

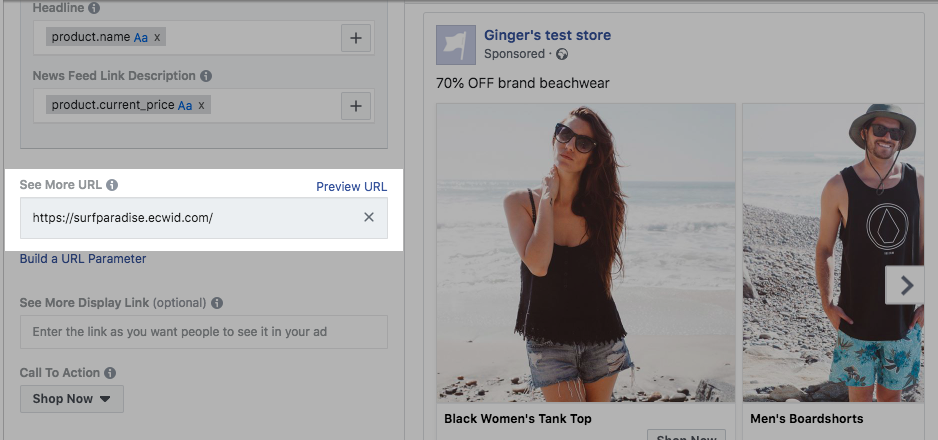
- Enter a link to your store to the field See more:
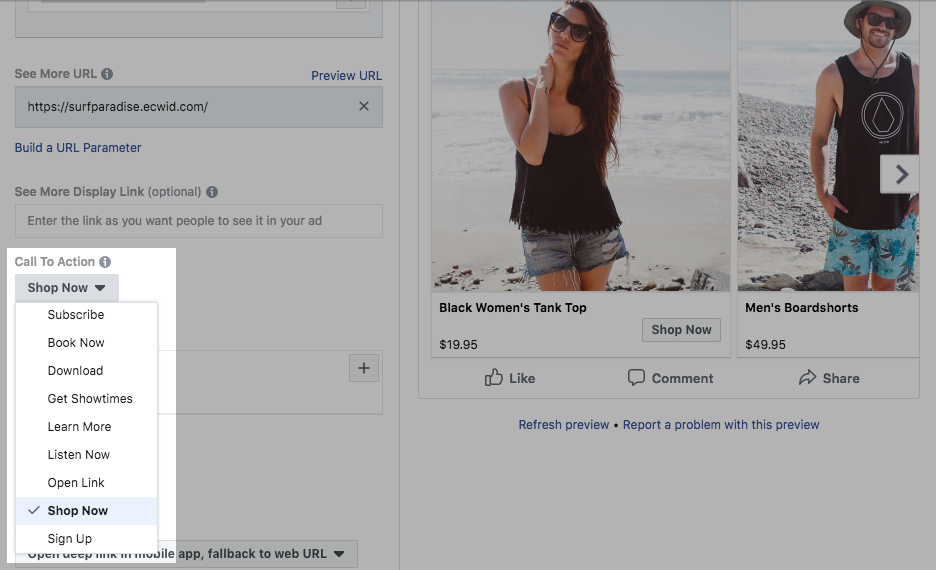
- Choose your Call to Action button:
- Click Review to double-check your campaign details.
- Click Confirm send your campaign to Facebook for review.
You may be asked to provide a payment method for your ad account, if you haven’t added one yet. When the billing is sorted out, Facebook will review your ads and they will be live. Congratulations on setting up your first Facebook Ads campaign!