There are two ways to add products to your store: manually or in bulk. Manual entry requires you to add each product one by one. However...
If you’re transferring from another ecommerce solution or already have your products listed out in a spreadsheet, a bulk import with the help of product import may be your best option.
In this article:
Adding products manually
To add the products to your store do the following:
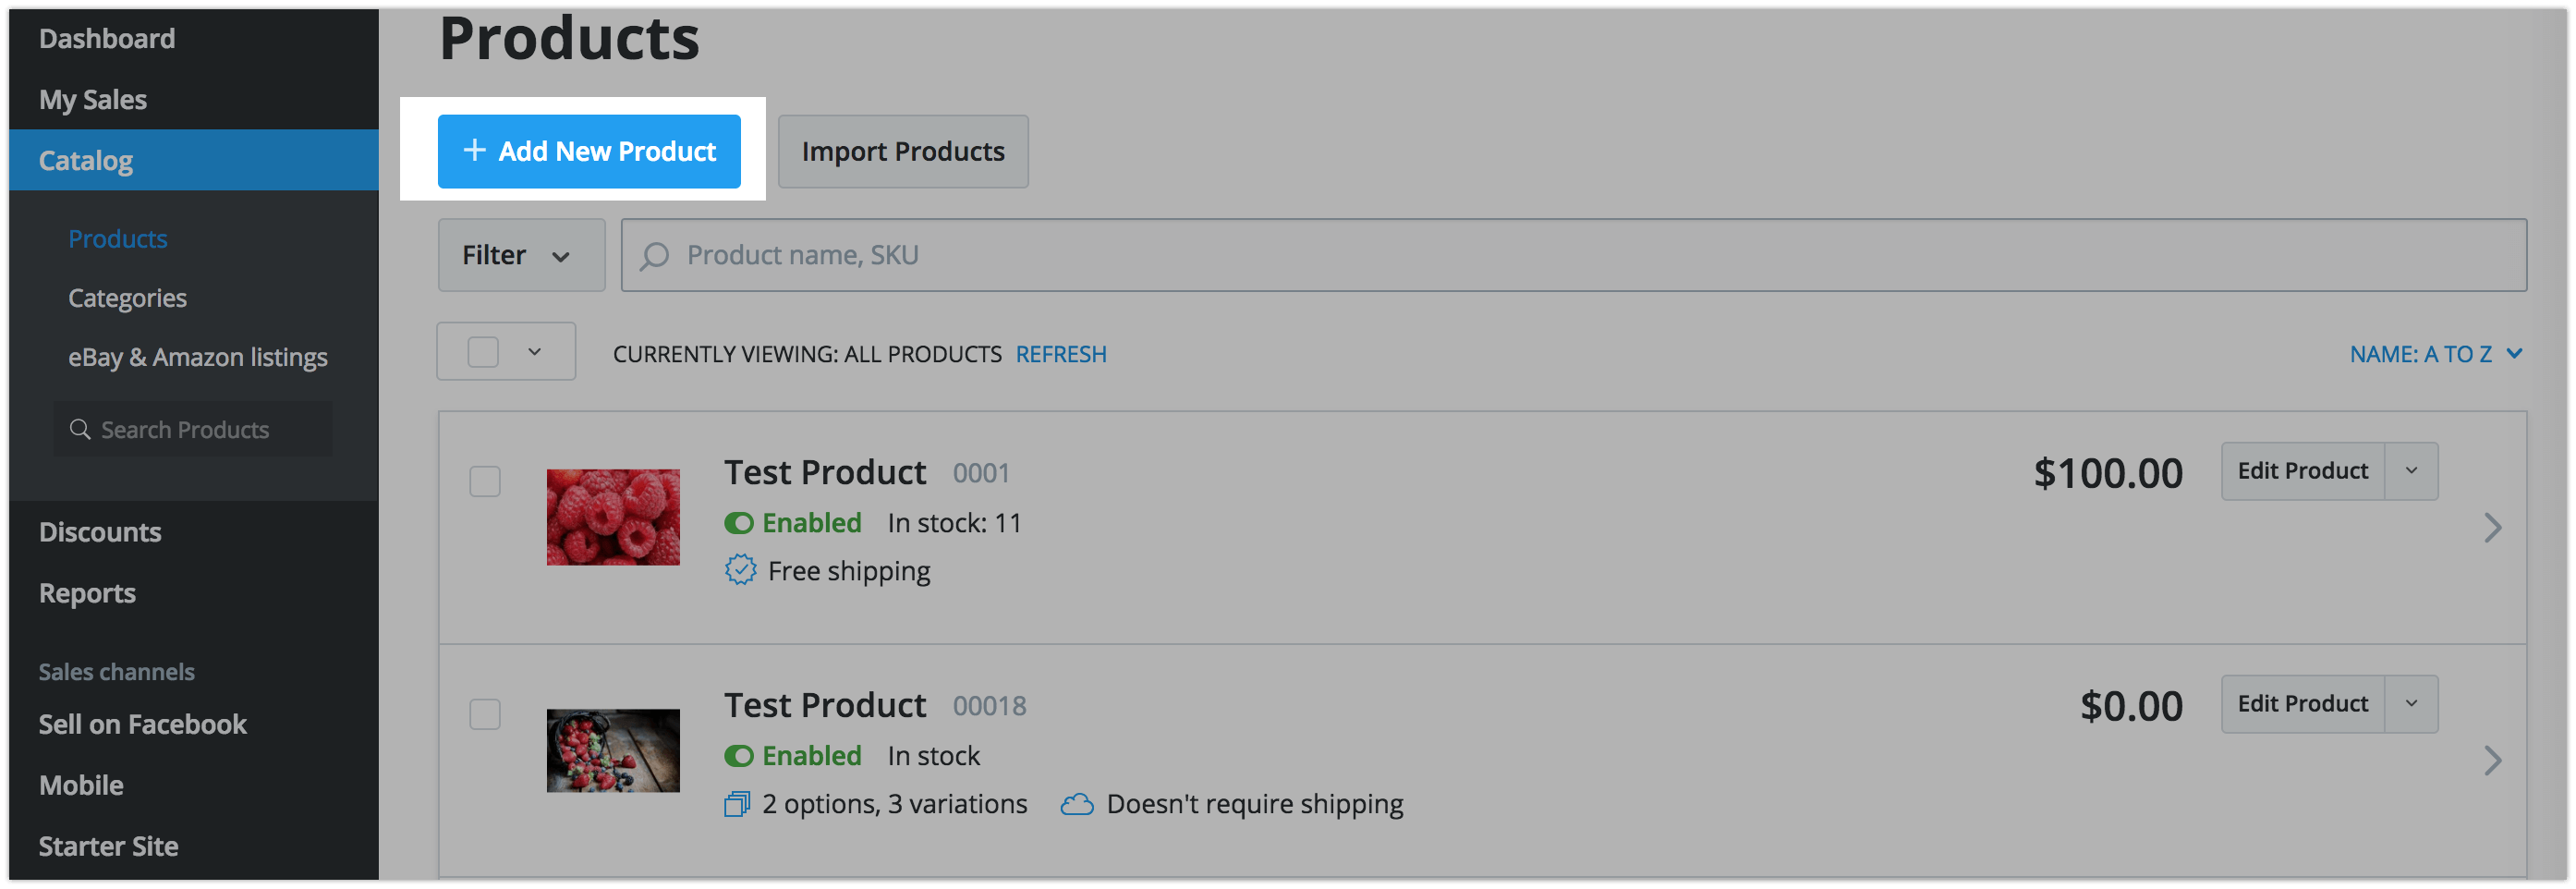
- Go to your store Control Panel → Catalog → Products
- Click +Add New Product:
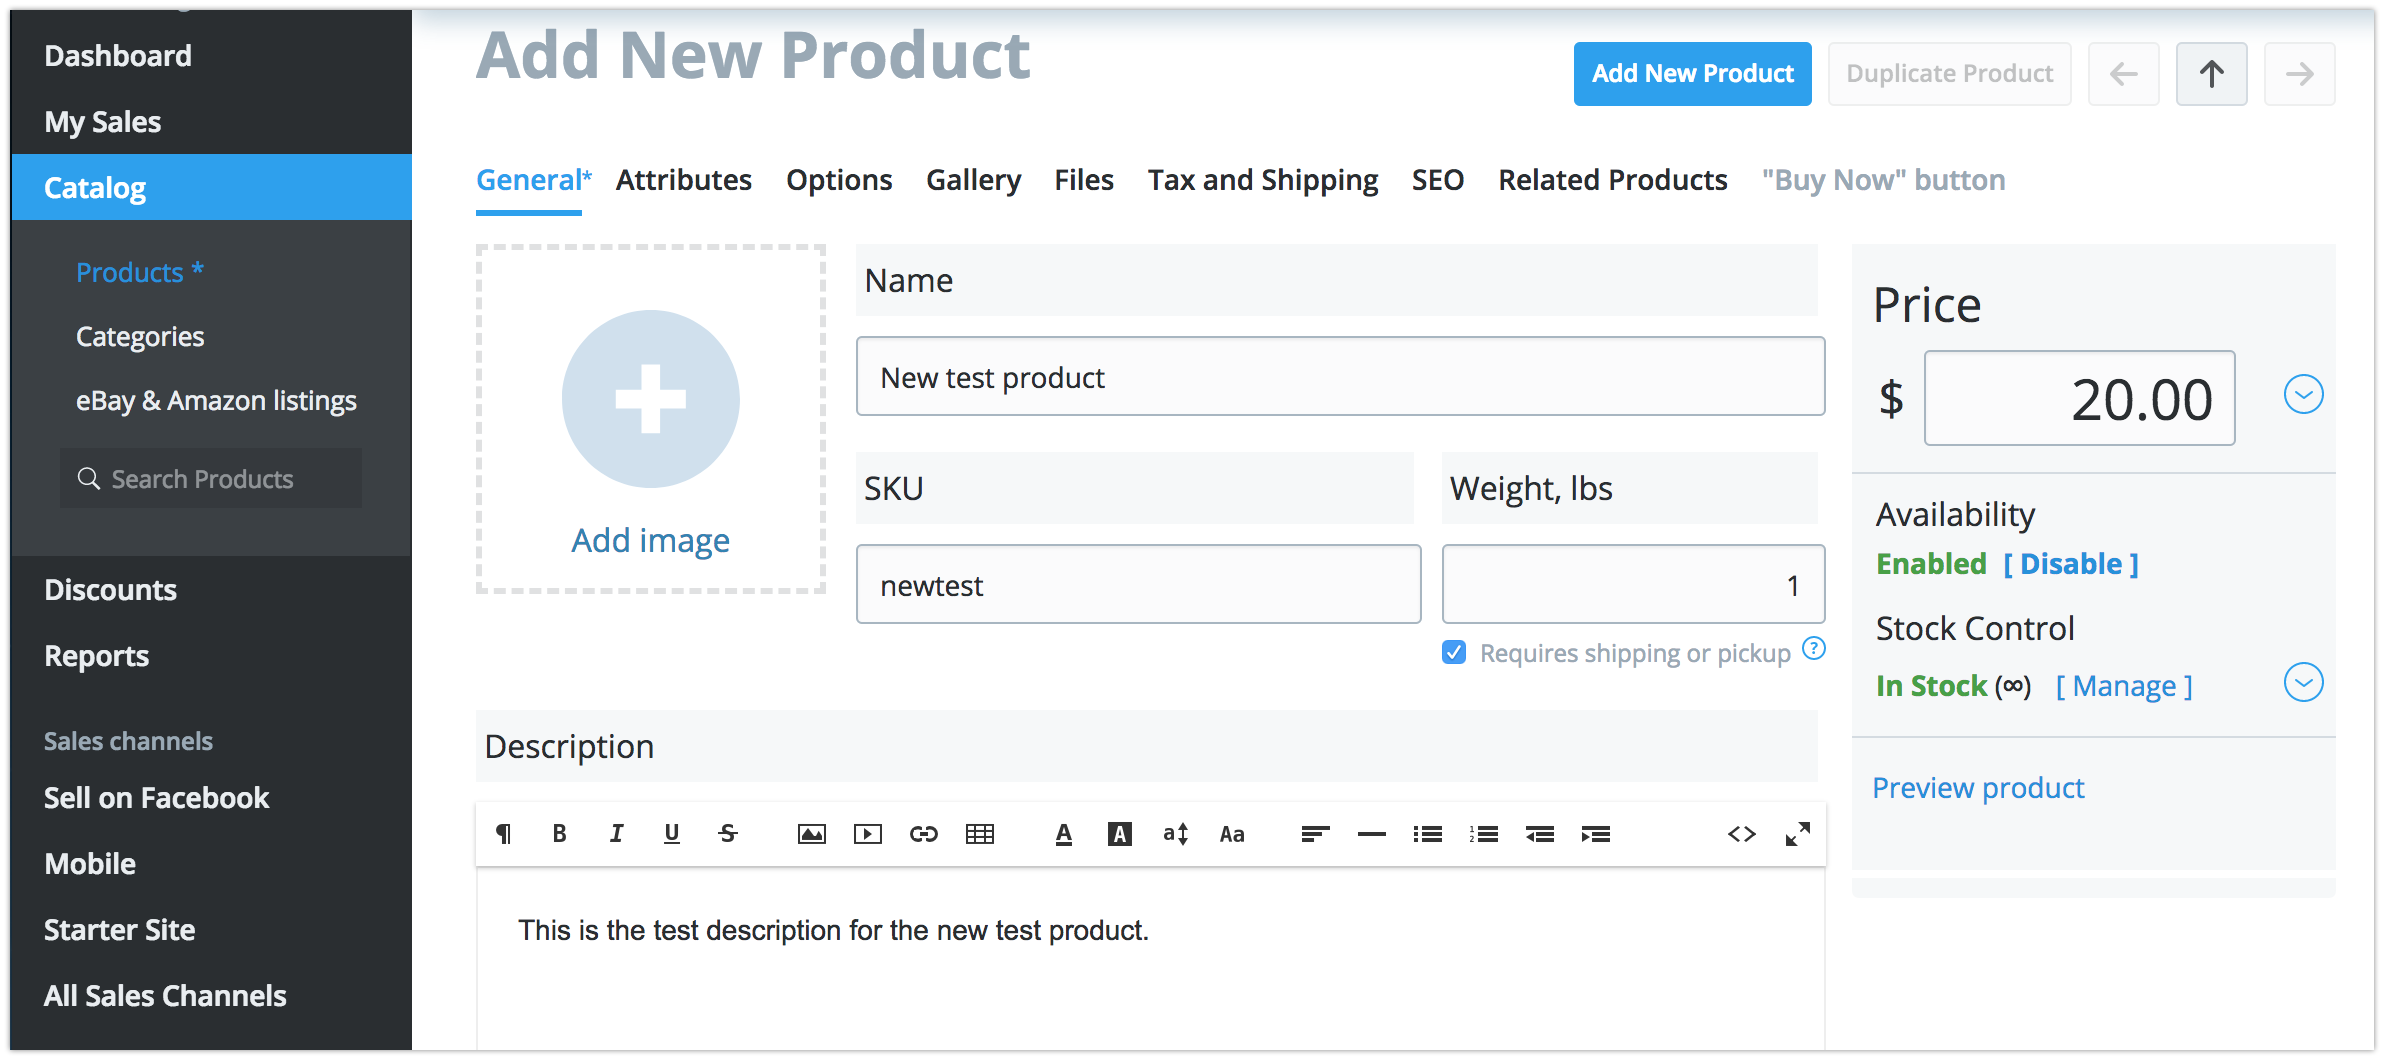
- Enter the main product details: name, SKU, description and price. If you will ship the product, enter the weight as well:
- Add in image to best display your product
- Limit the stock if your product is limited.
- Click Save.
- That's it. You successfully added a product to your store.

Uploading product images
You can add an unlimited number of images to every product in your store. We recommend using JPG, PNG and GIF images in RGB color model for your products. The better the quality of your original images is, the better result you’ll receive.
To add images to a product:
- Go to your store Control panel → Catalog → Products.
- Click on a product to get into its management page.
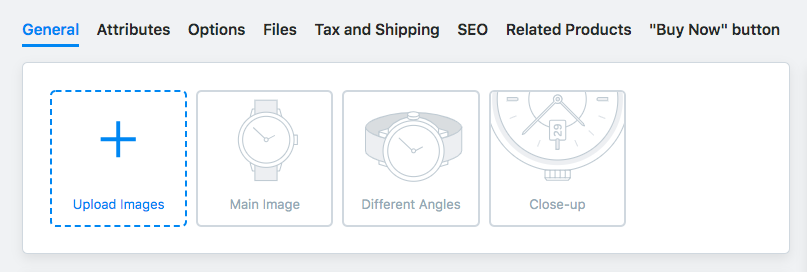
- Click Upload Images:
- In the popup that opens select the necessary number of images for the product: hold down the Ctrl key on Windows or Cmd key on Mac OS to select multiple images or hold down the Shift key to select a group of images.
- Click Open in the popup – the images will start uploading.
- After you see images uploaded, click Save on the product management page.
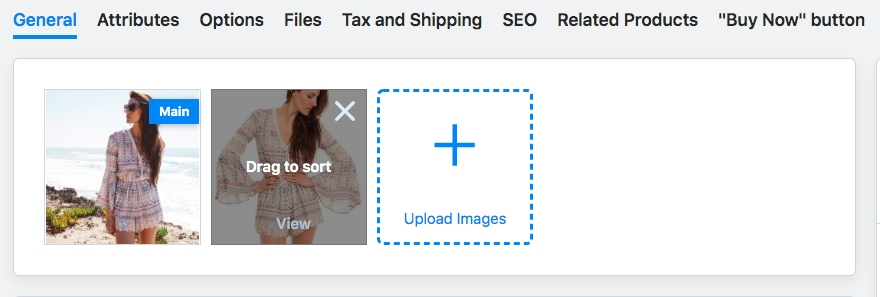
When you add multiple images to a product, the first uploaded image is considered the main product image. The main image appears in product list and product page.
If you want to change the order of images, you can drag them in the product management page. To set any picture as the main product image just place it first.
You can also customize the appearance of images in your store Control panel → Design:
- Pick the size and aspect ratio for the main images in the product list;
- Choose if additional images should appear in product pages in the form of thumbnails or full-sized images;
- Choose if you want to show additional images on hover in the product list.
If you choose to show additional images as thumbnails on product pages, upon a click on such thumbnail, a popup with a bigger image appears.
All images are automatically resized to fit the customer's screen. This allows seeing the whole image without scrolling. If the original image is bigger than the resized image, a customer can click + to see the image in its original size.
Adding products using CSV import
You can add products to your store in bulk using the import feature. If you have a CSV file with your products, you can just upload it to your Control Panel and the products will appear in your store.
Here are step-by-step instruction on how to import your products.