When you connect your online store to Facebook, Facebook creates a mobile-friendly Shop section on your Facebook business page that displays your store products. The Shop section is visible on desktop devices and mobiles, including the Facebook mobile app.
In this article:
Connect your store to Facebook
Adding your products to Facebook takes just a few minutes. Once added, all of your products will automatically sync, keeping your product catalog up to date without any additional effort.
If you already have an active Shop section on your Facebook page, the existing products will be replaced with the items from your online store.To connect your online store to Facebook, follow these steps:
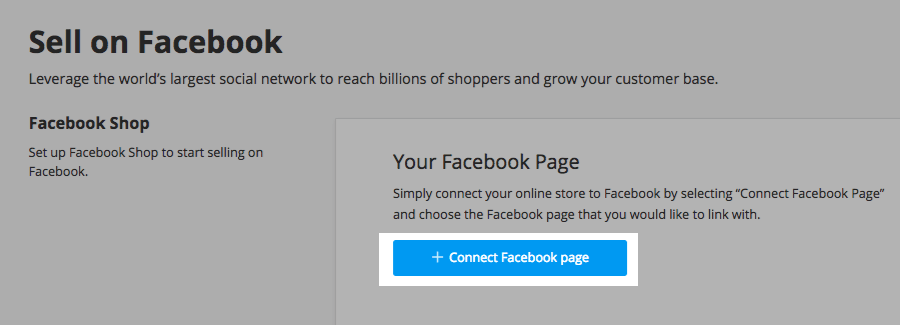
- Go to your Control Panel → Sales Channels → Sell on Facebook and click Connect Facebook page:
- Log in to your Facebook profile.
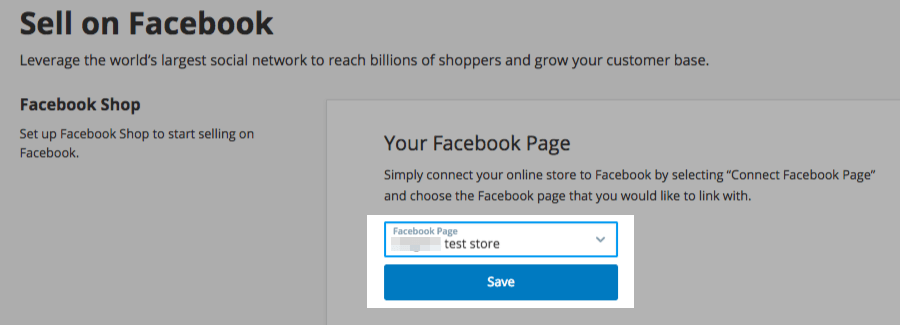
- Select the Facebook business page that you would like to link with and click Save.
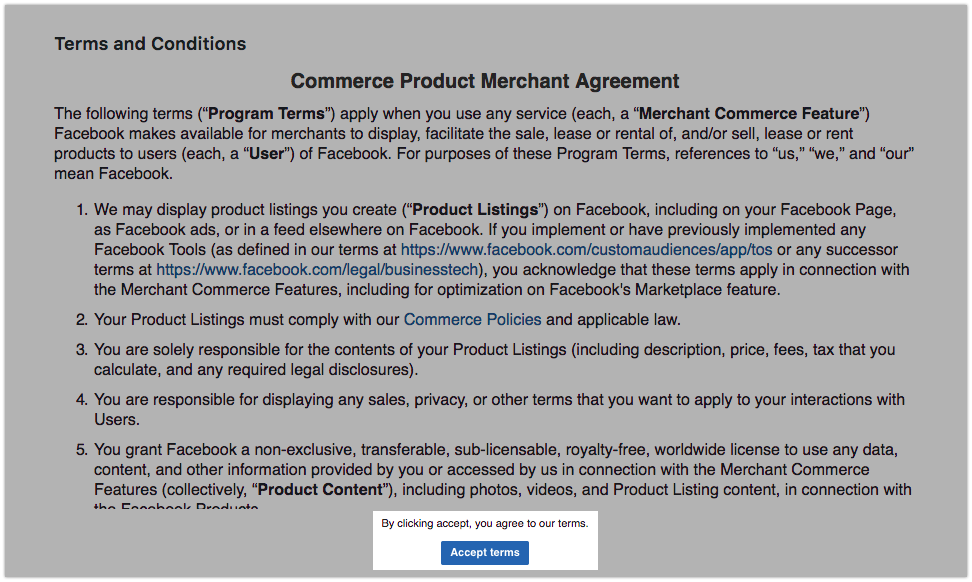
- Accept the Facebook Merchant Commerce Terms:
- We will upload all the enabled products from your catalog to the Facebook Shop. The upload progress will be displayed on this page for your information.
Once the products have been uploaded, they will be sent to Facebook’s review. You can check their review status under the Pending review tab.
Read our detailed article about selling on Facebook for more information about how your store works with Facebook.
Next steps
After you have added your store to the Facebook page, it is time to promote it! Here are the next steps to take: